
3D puff embroidery is a powerful method to add depth and texture to apparel. However, to achieve stunning results, the digitizing process must be handled with precision. In this blog, we’ll walk through the step-by-step process of digitizing designs for 3D puff embroidery, covering everything from software setup to stitch types and more.
Understanding the Basics of 3D Puff Embroidery
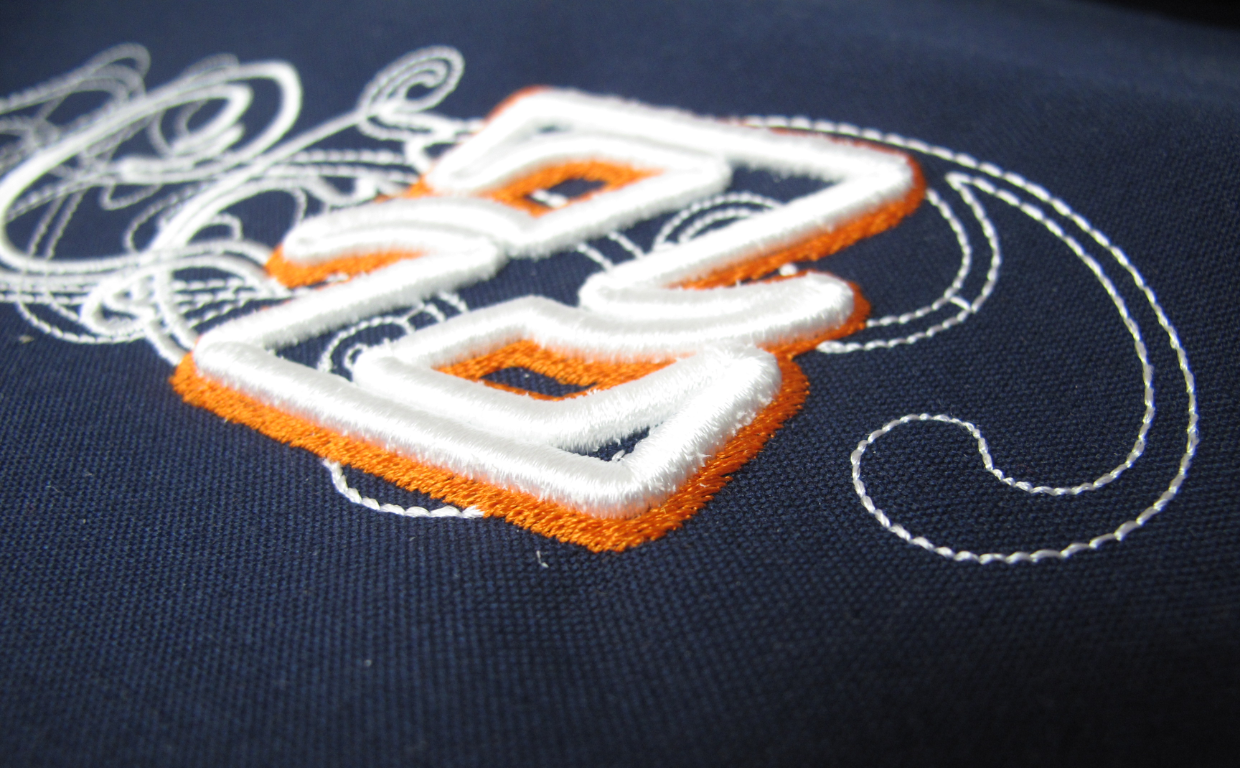
3D puff embroidery uses a foam layer placed under the stitching to lift the embroidery and give it a raised look. This effect is commonly used for caps, logos, and custom patches. To digitize for this method, a standard embroidery approach will not suffice. Specialized techniques are required to account for the foam layer and its impact on stitch behavior.
One of the key elements is choosing the right design. Simple, bold designs with large areas are ideal for puff embroidery. Thin lines or intricate details can get lost when stitched over foam, so the digitized file should simplify where needed.
Additionally, avoid small negative spaces that the needle can’t handle easily over foam. Clean, closed shapes work best. You can explore Mahi Digitizing’s custom patch embroidery for examples of optimized 3D puff layouts.
The basic knowledge of puff embroidery must go hand-in-hand with embroidery digitizing tools and software. Tools like Wilcom, Pulse, or Hatch are often used for detailed pathing and density control.
With the right setup and understanding of foam behavior, designers can digitize artwork for bold, durable, and standout puff embroidery designs that maintain form over time.
Choosing the Right Underlay and Stitch Settings
One of the most important digitizing decisions for 3D puff embroidery is underlay. Unlike flat embroidery, puff designs require minimal underlay or sometimes none at all. Too much underlay compresses the foam, reducing the 3D effect and creating unwanted outlines.
Instead of a full underlay, edge-walk or zigzag underlays around the borders are used. These hold the foam in place and keep stitches aligned. Density also plays a major role. For puff embroidery, a high-density satin stitch is used to slice and cover the foam properly.
For large shapes, overlapping stitch paths or double-layer coverage may be necessary to cut the foam cleanly. You can refer to our detailed guide on embroidery digitizing for tips on density management.
The stitch angle should also vary slightly between areas to reduce pull and give the finished design a more rounded look. Stitch direction plays a major role in how foam behaves under thread tension.
Properly managed stitch settings not only enhance the look but also improve the longevity of the embroidery. Overlapping and capping methods ensure a clean finish and minimize fraying of the foam.
Pathing and Sequence Optimization
Pathing, or the order in which the embroidery machine follows the design, is essential for puff embroidery. The foam must be stitched from the inside out or top to bottom to avoid crushing it mid-process.
A poor path sequence can ruin the final output. Trims should be minimized, and excess jumps should be avoided. The goal is smooth, continuous motion. Sequencing should also follow the principle of layering foreground details last.
Efficient pathing contributes to a neat finish and faster machine run time. Visit our Get a Quote page to let our experts optimize your puff design for efficiency.
Proper sequencing also prevents thread breakage or misalignment issues. Because puff embroidery requires multiple passes, incorrect sequencing can lead to gaps or exposed foam.
Ensuring that the embroidery design is digitized with logical, efficient pathing directly impacts production speed, design accuracy, and client satisfaction.
Testing Your Digitized File on Sample Foam
No digitized 3D puff design is complete without testing. Sampling ensures that all elements — foam selection, density, stitch type — are working as intended before full production begins.
Testing helps identify issues like thread breaks, foam leakage, or misalignment. It also gives you a chance to tweak colors and textures for a better visual match. You can experiment with different foam thicknesses and thread tensions for best results.
At Mahi Digitizing, we conduct multiple quality checks to ensure the final file performs well across different fabric types and machines.
Even if the artwork looks perfect digitally, physical testing reveals how the foam behaves and whether the coverage is sufficient. Skipping this stage can lead to failed batches and dissatisfied clients.
Always stitch a sample before production, especially for bulk or client orders. This simple step can save time, material, and ensure a perfect result with strong branding impact.
Working with Expert Digitizers
Partnering with experienced digitizers gives you access to technical expertise and proven workflows. 3D puff embroidery is highly specialized, and mistakes in design setup can be costly in time and resources.
At Mahi Digitizing, we use advanced software and manual refinement to deliver professional-quality puff embroidery digitizing. Each file is optimized for clean lines, strong density, and machine compatibility.
Our team ensures that every design works flawlessly with your embroidery machine, whether you’re using Tajima, Barudan, Ricoma, or Brother. You get scalable, editable files that meet all quality standards.
Additionally, we provide quick revisions and expert advice on improving designs for branding, retail, or promotions. Whether you’re a print shop or apparel brand, we help you stand out.
Trust in a partner who understands the art and science behind 3D puff embroidery. Let us bring your bold, standout designs to life with professional digitizing services tailored for excellence.