
3D puff applique is a bold and dynamic embroidery style. To achieve flawless results, the digitizing process must be highly precise. In this blog, we’ll walk you through the full process of digitizing designs for 3D puff embroidery, covering each phase with professional detail.
Understanding 3D Puff Applique Basics
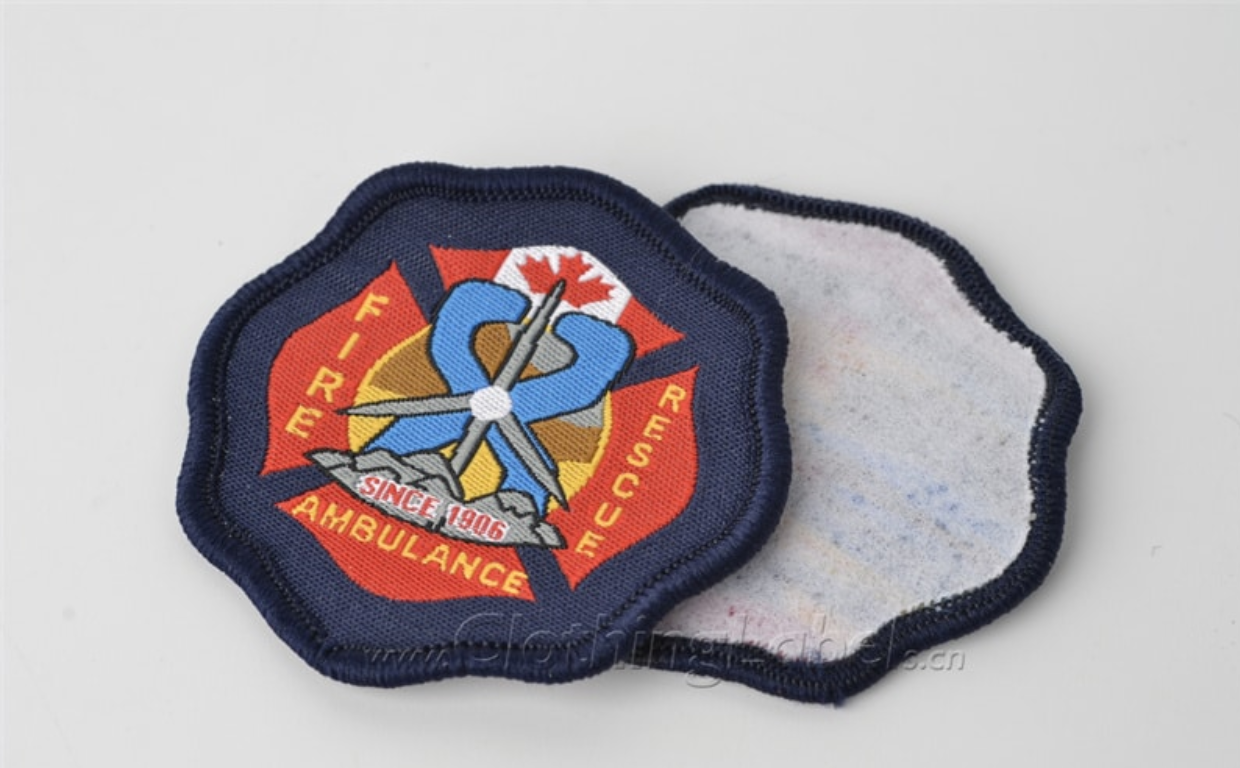
Before digitizing for 3D puff, it’s important to understand the technique. Puff applique involves stitching over foam to create a raised, three-dimensional effect on garments, caps, or accessories. The foam adds height, which brings depth to your design.
The foam can vary in thickness, and the digitizer must adapt the stitch type and density accordingly. Choosing the correct foam thickness ensures the design stands out without overwhelming the fabric or causing thread breaks.
One major consideration in puff embroidery is design complexity. Simple, bold shapes work best because they accommodate the thick foam and avoid distortion or over-piercing during stitching.
Mahi Digitizing’s embroidery digitizing services specialize in preparing 3D puff-friendly files for logos, patches, and monograms with optimized precision.
Additionally, digitizers must understand how puff reacts to stitches. It tends to push outwards under tension, so the software must compensate for these shifts to maintain accurate outlines.
Studying the physics of foam behavior under a needle is foundational before ever launching a digitizing program. Mastery starts here.
Choosing the Right Design and Foam
Selecting an appropriate design for puff embroidery is key. Designs with thick lines, block letters, and bold shapes translate best when stitched over foam. Fine details are typically lost or distorted due to the puff structure.
Avoid scripts, intricate flourishes, or thin lines. Instead, opt for sans-serif fonts or logos with wide paths. This ensures the raised stitches will cover the foam entirely without gaps.
Foam selection is equally critical. You’ll usually choose between 2mm or 3mm high-density embroidery foam. The thicker the foam, the bolder the final appearance—but it also increases the need for stronger capping stitches.
Some designs work well with a combination of 3D puff and flat embroidery. The flat parts can provide detail, while puff sections add dimension. This is a creative way to mix techniques without compromising clarity.
You can consult the Mahi Digitizing team for guidance on ideal design styles and foam materials suited to your project.
Testing different combinations on scrap fabric before final production helps reduce errors and ensures ideal compatibility between design and foam.
Setting Up the File in Digitizing Software
Once you’ve finalized your design and materials, the next step is digitizing using professional software like Wilcom, Pulse, or Hatch. These programs allow you to control stitch density, angles, underlay, and sequence.
Begin by importing the design and plotting out the puff sections first. Use manual digitizing tools rather than auto-tracing to maintain control over each stitch’s placement and interaction with the foam.
It’s crucial to apply a proper underlay to tack the foam in place. A zigzag or edge run underlay is typically used to stabilize the puff area before adding top stitches that form the raised pattern.
Set your top stitch density lower than for flat embroidery, typically around 3.0 to 4.0 mm spacing, to avoid crushing the foam. Use satin stitches or long column stitches to properly cover and cap the foam.
If you’re unsure how to format your file, try the free quote tool at Mahi Digitizing to get expert help with your project setup.
Digitizing software requires a blend of technical skill and visual creativity. Always preview your design in 3D mode to spot overlaps or under-coverage.
Stitch Path Planning and Sequencing
Efficient stitch sequencing ensures cleaner finishes and prevents unnecessary machine movements that can damage the foam. Always begin puff sections after completing the flat details, so they sit on top.
The order of stitching affects how the puff appears. Plan sequences from background to foreground and maintain consistent stitch angles to avoid directional warping. Don’t skip this—it determines the final shape and clarity.
You’ll also want to avoid overly sharp corners or excessive needle penetrations in one spot, which can tear the foam. Proper spacing and direction changes minimize these risks.
Stitch angles should alternate between overlapping columns to create balance and provide full foam coverage. Smooth transitions ensure visual harmony in large 3D text or logos.
This step is where a professional digitizer truly shines. Explore Mahi Digitizing’s services to learn how we optimize stitch paths for premium embroidery quality.
Every detail from entry and exit points to cleanup stitching plays a role. Well-planned sequencing results in smoother production and higher-end visual appeal.
Testing and Final Adjustments
Once the digitized file is complete, it’s time for sample testing. Run a stitch-out on a fabric similar to the final product using your selected foam and thread. Observe any gaps, thread breaks, or loose foam.
Common issues include under-coverage or stitch breaks over foam edges. These can be fixed by tightening the density, changing the underlay, or adjusting stitch entry points. Don’t hesitate to iterate.
Even experienced digitizers test multiple versions before finalizing. This saves both time and material during bulk production and improves customer satisfaction.
Remember to remove the foam carefully after stitching. It should tear away cleanly if the cap stitches are placed correctly. Stray bits can be trimmed using a heat gun or small scissors.
For repeat customers or high-volume projects, keeping a documented record of digitizing parameters ensures future consistency across orders. Mahi Digitizing maintains detailed settings for client reorders.
Consistent testing and adjustment complete the loop for professional 3D puff embroidery. Skipping this final step may compromise results.