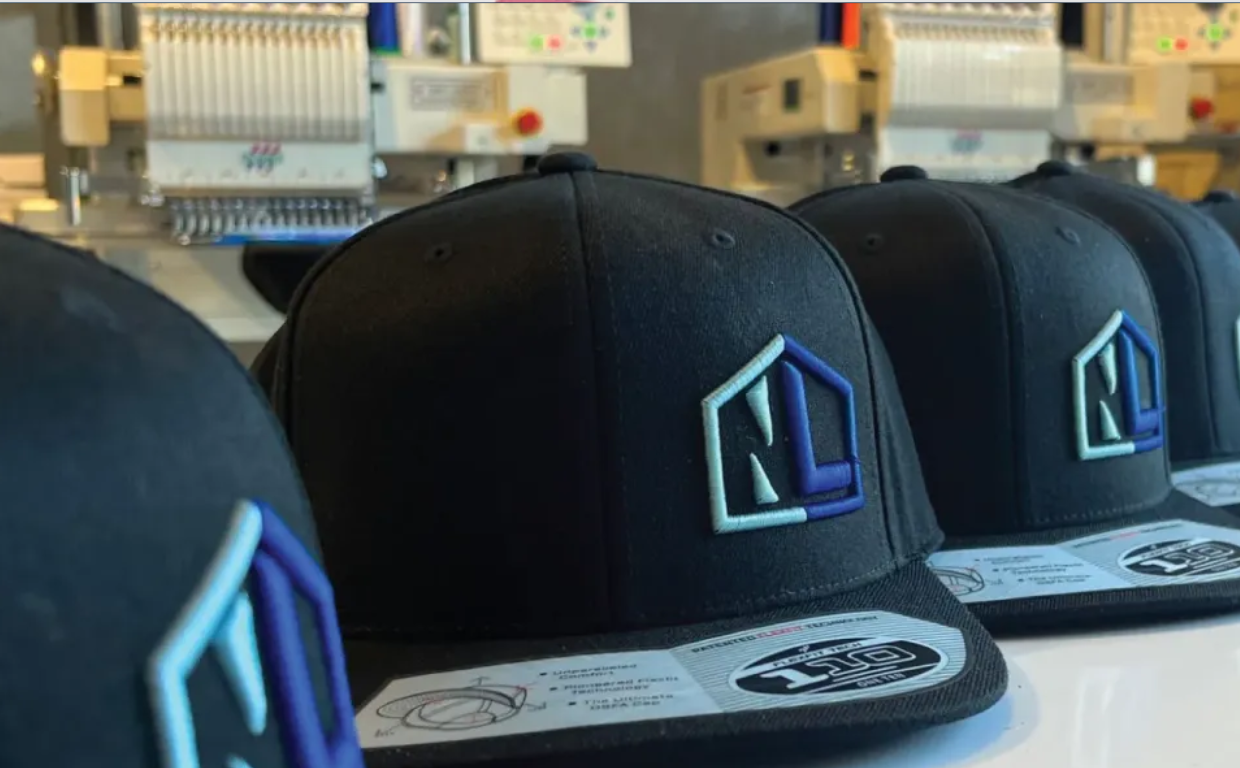
3D puff embroidery is an eye-catching technique, but digitizing it requires precision and experience. At
Mahi Digitizing, we understand the unique hurdles and offer effective ways to overcome them for consistently professional results.
Understanding Foam Behavior
One of the most common challenges when digitizing 3D puff embroidery is predicting how the foam will react during stitching. Foam behaves differently than fabric, often compressing under dense stitching or shifting if not properly secured. Choosing the right foam thickness and testing it with various densities is essential. Thicker foam requires wider satin stitches, while thin foam can collapse under pressure.
Stitch directions, underlay, and stitch angles must be adjusted according to foam flexibility and height. At Mahi Digitizing, we test foam compatibility in every project. Using high-quality embroidery foam from reliable suppliers also reduces the risk of deformation or poor structure retention. Digitizers should develop a foam reference guide for clients to ensure repeatable and consistent results across different materials.
Being familiar with foam behavior leads to better stitch compensation, resulting in durable, bold 3D effects that last over time.
Managing Stitch Density and Sequencing
Overly dense stitches can crush the foam, while sparse stitching may allow it to move or bulge. Managing stitch density is one of the trickiest parts of digitizing for 3D puff embroidery. You need to balance compression with puff height by controlling density in satin and fill stitch areas. A standard setting won’t work—each design needs custom adjustments. Sequencing also plays a role. The right pathing prevents foam from lifting prematurely or shifting during stitching. Always build from the center outwards.
We recommend previewing your design in software and testing on scrap material before mass production. Mahi Digitizing provides testing and optimization for every file. Proper sequencing also prevents thread breaks and improves machine performance, especially for complex logos or letterings.
The more efficient your sequencing, the smoother the design runs, reducing errors and costly rework during embroidery.
Selecting the Right Fonts and Lettering Styles
3D puff embroidery works best with bold, blocky fonts. Thin or intricate lettering tends to collapse under stitching or appear distorted over foam. A common mistake is attempting detailed scripts or serif fonts for puff designs. These simply don’t provide the structure needed to maintain shape.
When designing for puff, choose sans-serif fonts with ample spacing. Adjust strokes for even coverage and consider removing small details or adjusting scale. Fonts like Impact, Arial Black, and other bold faces work excellently for caps, jackets, and streetwear apparel. Our team at Mahi Digitizing can consult on font conversions and provide samples that suit your design objectives.
Choosing the correct font early in the design process prevents loss of time and ensures the final product meets visual expectations.
Eliminating Excess Foam Cleanly
Another overlooked issue in 3D puff embroidery is trimming foam neatly after stitching. If the design doesn’t close properly, excess foam peeks through and ruins the look. Digitizers must ensure outlines are tight and sealing stitches are applied effectively to compress foam edges into the garment.
Cutting foam manually or using heat to melt edges can leave residue or discoloration if not done carefully. A clean edge is a sign of professional-quality work. Digitizing software allows you to layer finishing stitches that seal the perimeter. This helps avoid post-production cleanup entirely. Our team performs visual checks on every design before delivery to ensure trimming won’t be a problem in real-world applications.
Mastering this finishing step enhances your brand’s reputation and adds professional polish to each item.

