
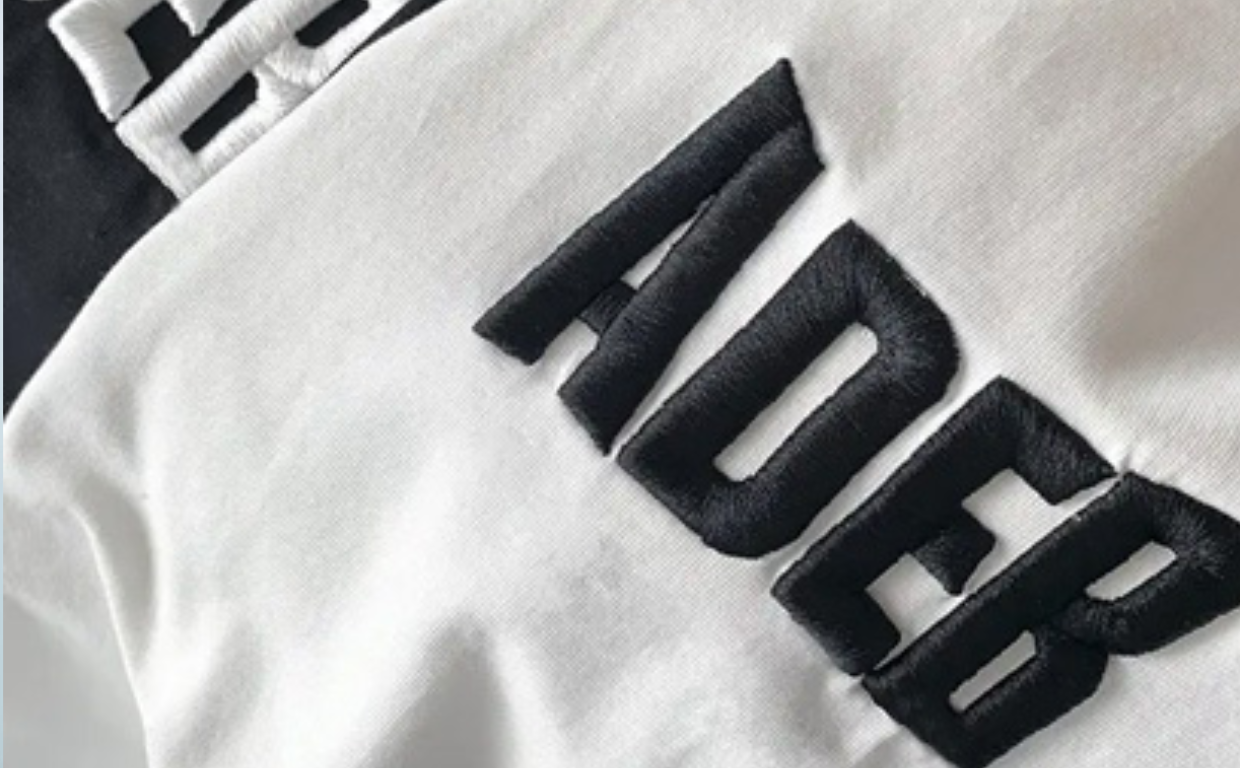
3D puff embroidery offers a bold and dynamic look that adds depth to designs. At Mahi Digitizing, we specialize in crafting flawless raised effects that make logos, text, and artwork pop with precision. Here’s how you can achieve perfect results in your 3D puff embroidery projects.
Choosing the Right Materials
The foundation of great 3D puff embroidery starts with selecting the appropriate materials. High-quality foam is crucial for achieving a consistent and prominent raised effect. Ensure that the foam thickness matches the desired height of the design, typically between 2mm and 6mm.
Choose a stable base fabric that can support the additional weight and structure without distorting the design. At Mahi Digitizing, we only use premium materials to guarantee durability and aesthetics in every project. Material quality directly influences how crisp and vibrant the raised effect appears after stitching.
Investing in the right foam and fabric ensures that your 3D puff embroidery stands out and withstands wear over time.
Proper Design Digitization Techniques
Digitizing specifically for 3D puff embroidery is different from flat embroidery. Specialized techniques must be applied to accommodate the foam’s thickness. Stitch types like satin stitches are ideal for covering foam efficiently and creating a smooth finish. Adding extra density and adjusting underlay settings helps secure the foam and prevents it from shifting during embroidery.
Our expert digitizers at Mahi Digitizing craft precise files optimized for a clean, dimensional look. Each design requires meticulous planning to ensure no gaps, excessive pull, or distortion occur during the stitching process. Proper digitization lays the groundwork for a professional and visually striking 3D puff effect.
Perfect Foam Placement and Preparation
Correct placement of the foam is essential to achieving a uniform raised effect across the entire design. Cut the foam slightly larger than the stitched area to ensure complete coverage and minimize movement.
Use adhesive spray sparingly to tack the foam onto the fabric before stitching to prevent shifting during the embroidery process. At Mahi Digitizing, we advise on the best foam preparation techniques to ensure your designs maintain a perfect structure. Preparing foam carefully before embroidery begins reduces the chance of wrinkles, gaps, or puckering in the final product.
Consistent preparation leads to consistent results, ensuring every design looks polished and professional.
Correct Stitch Settings for 3D Puff
Stitch density must be higher in 3D puff embroidery to fully cover the foam and create a neat finish. Satin stitches work best, but the width must be carefully controlled to avoid breaks or visible foam through gaps. Tension settings should also be adjusted slightly to accommodate the thickness of the foam underneath.
Our team at Mahi Digitizing provides stitch files with precise settings to guarantee optimal results. Incorrect settings can lead to broken threads, foam popping out, or a messy appearance. Proper calibration ensures smooth, strong stitches that maintain the bold, raised look 3D puff is known for.
Removing Excess Foam Carefully
After the embroidery process is complete, the excess foam must be removed without damaging the stitches or fabric. Gently tear away the foam around the design. If small pieces remain, carefully use heat to shrink them without burning the thread. A heat gun or hairdryer set to low can help clean up edges and melt any remaining foam traces.
At Mahi Digitizing, we recommend techniques that protect the design integrity during the foam removal process. Patience and precision are key during this stage to preserve the clean, bold edges of the design.
Proper foam removal reveals the full, vibrant, dimensional look that makes 3D puff embroidery so desirable.
Final Touches and Quality Checks
A final inspection ensures that the raised effect is even, the design edges are clean, and the stitches are intact. Press the fabric gently to settle stitches into the foam without flattening the puff effect.
Perform thread trimming and spot-check for any foam that may require additional cleaning. At Mahi Digitizing, every 3D puff project undergoes strict quality control before delivery. Attention to these final details ensures the raised design maintains its stunning, professional look over time.
Perfect finishing creates embroidery that not only looks great but also withstands everyday use and washing.