Vectorizing images is a crucial process for creating high-quality, scalable designs for embroidery, printing, and digital art. This step-by-step guide will walk you through the fundamentals of image to vector conversion, helping beginners understand the tools, techniques, and benefits of vector graphics.
What is Vectorization and Why is it Important?
Vectorization is the process of converting raster images (JPEG, PNG, BMP) into scalable vector graphics (SVG, AI, EPS, PDF). Unlike pixel-based images, vectors use mathematical curves, allowing designs to maintain sharpness and clarity at any size.
This process is essential for industries such as embroidery, screen printing, and graphic design, where high-resolution images are needed for production. Vector files ensure crisp lines and smooth details, regardless of how large or small the design is.
For businesses looking to convert images into professional vector files, Mahi Digitizing offers expert vector conversion services.
Choosing the Right Software for Vector Conversion
Several tools are available for image to vector conversion, ranging from free online platforms to professional-grade software. Popular choices include Adobe Illustrator, CorelDRAW, and Inkscape.
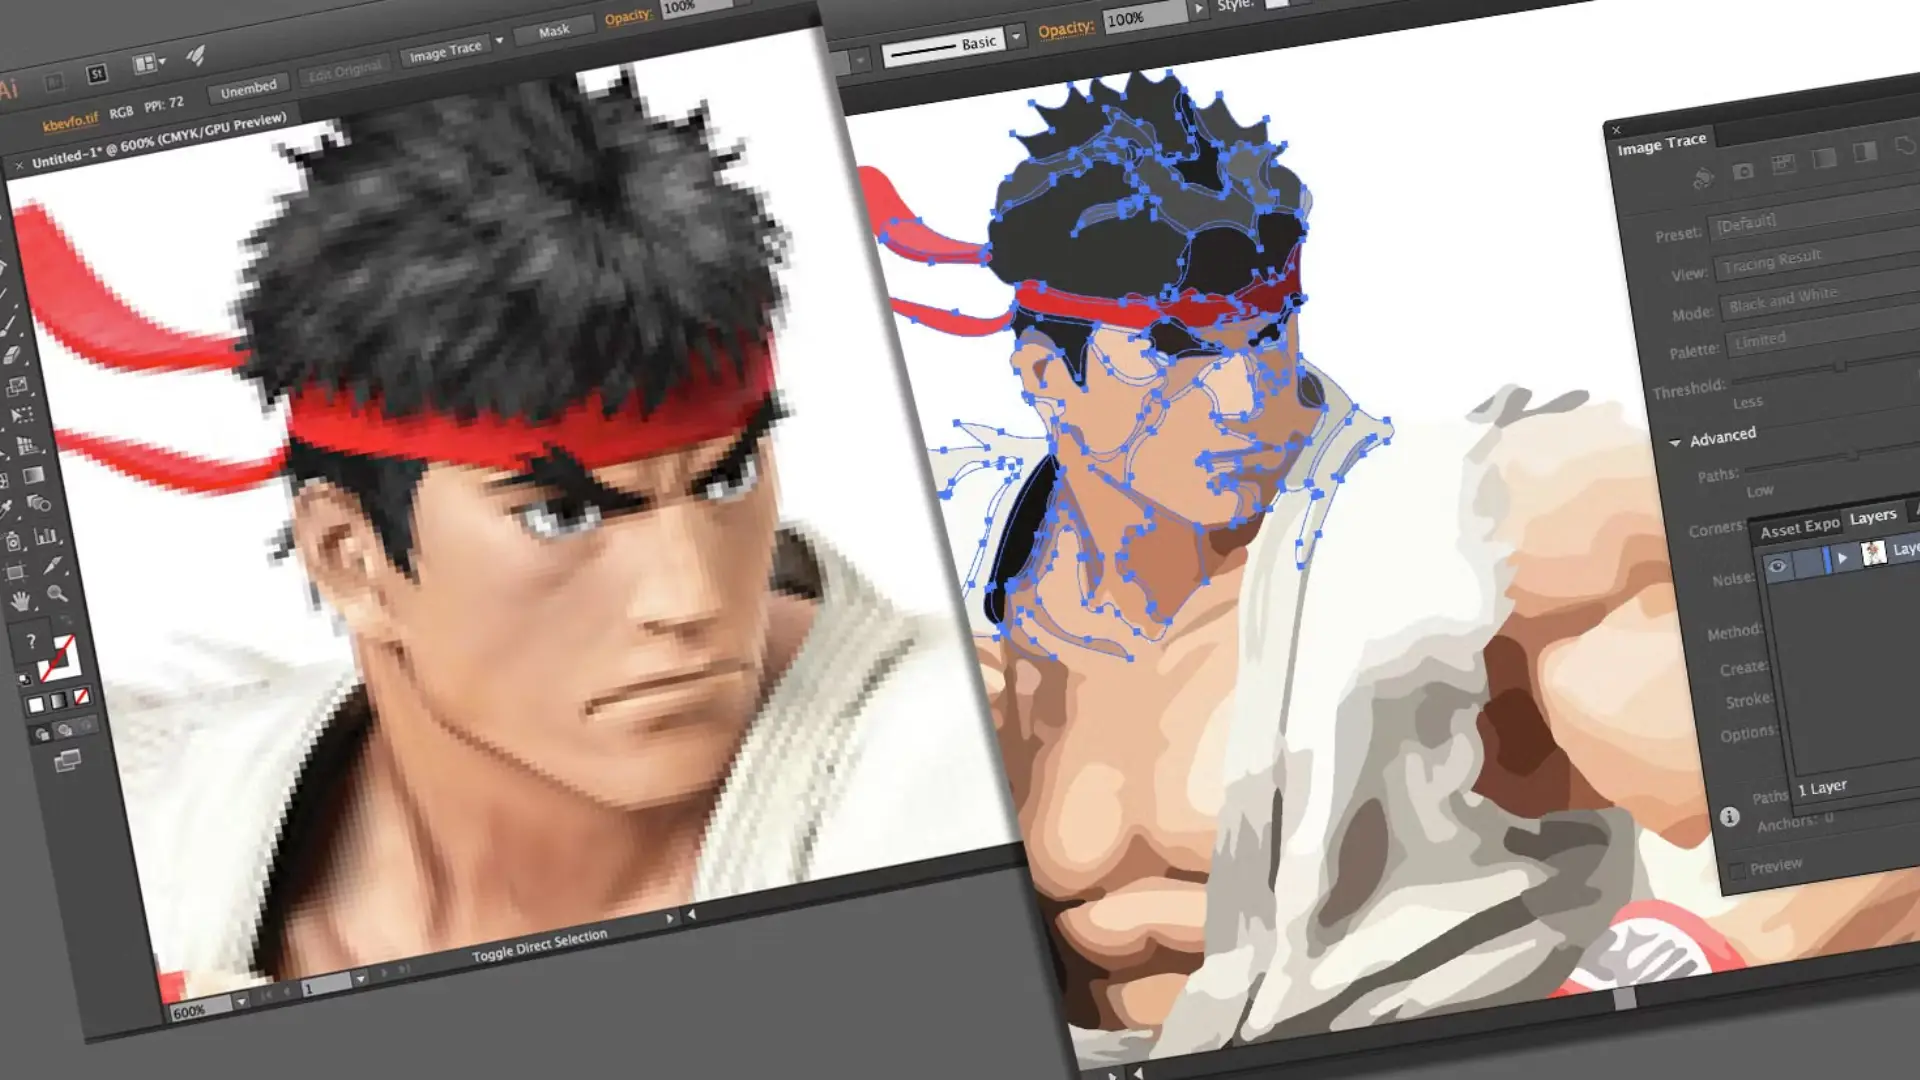
Adobe Illustrator’s Image Trace feature allows for automatic vectorization, while Inkscape’s Path Tool provides a free alternative for manual tracing. For more complex designs, professional vector conversion services ensure high accuracy.
Learn about the best vectorization software and their features in this detailed guide on vector tools.
Step-by-Step Process to Convert an Image to Vector
1. Import the Image: Open your raster image in vector software like Adobe Illustrator or Inkscape.
2. Adjust Image Settings: Convert the image to grayscale or adjust contrast to make outlines clearer.
3. Use Auto-Trace or Manual Tracing: Apply Image Trace (Illustrator) or manually trace lines for accuracy.
4. Refine the Paths: Smoothen lines, adjust curves, and remove unnecessary details for a clean design.
5. Color the Vector Design: Assign fill and stroke colors to enhance the appearance of your vector.
6. Export the File: Save the final vector in AI, EPS, or SVG format for professional use.
If you need high-quality manual vectorization, let Mahi Digitizing handle your image conversion.
Benefits of Using Vector Graphics Over Raster Images
Vector graphics offer unmatched scalability—you can enlarge a vector design without losing quality, unlike pixel-based images that blur when resized.
Vectors are easier to edit and customize since each shape and curve remains adjustable. This is perfect for logo designs, embroidery patches, and digital artwork.
Read more about the differences between raster and vector graphics in this Adobe guide on vector vs raster.