
Lettering embroidery is one of the most popular techniques used to personalize garments, hats, uniforms, and promotional products. While embroidery adds sophistication and value to fabric, lettering can often be challenging. Small text, spacing errors, thread breaks, and density problems are just some of the issues embroiderers encounter. At Mahi Digitizing, we understand the importance of precision in embroidery digitizing and how small mistakes can impact the overall design. This blog explores the most common problems in lettering embroidery and offers step-by-step solutions to fix them.
Small Lettering Appears Blurry or Illegible
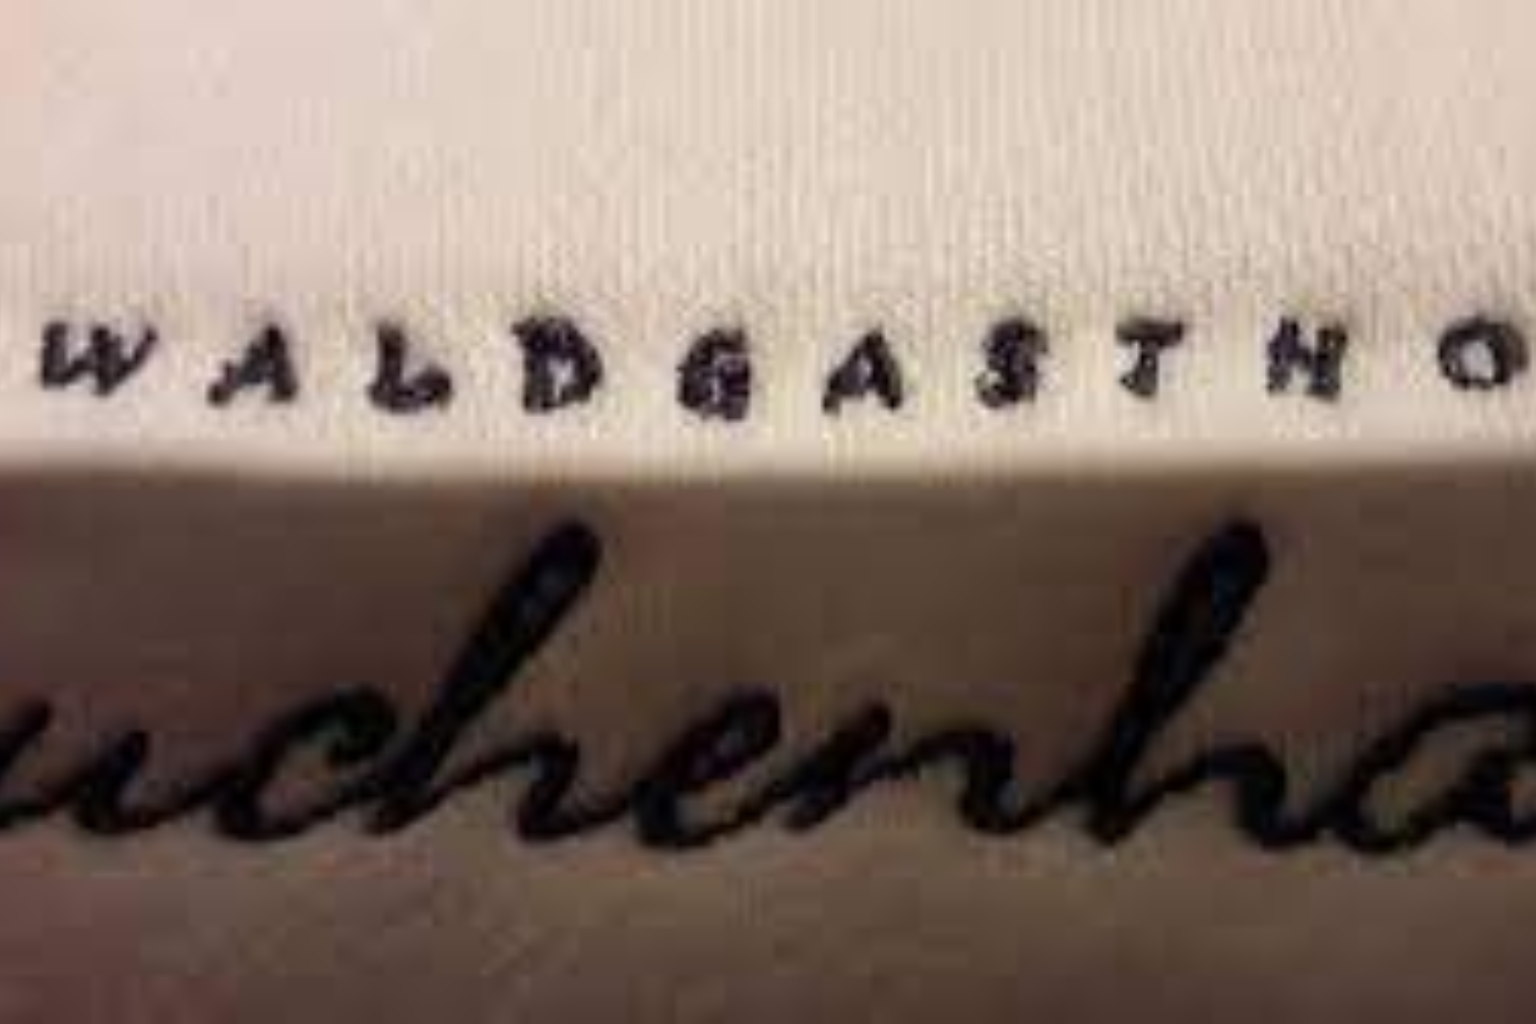
One of the most frequent embroidery problems is small lettering becoming unreadable. This usually happens when letters are digitized too small, causing the stitches to overlap and lose clarity. Embroidery machines have limitations when it comes to stitch size, and small fonts often fail to produce sharp results.
The solution is to avoid using fonts smaller than 4mm in height. Adjusting the density and reducing the stitch count also helps. Using simple block-style fonts instead of cursive designs is recommended for small text. At Mahi Digitizing, we ensure that lettering is digitized with clarity in mind, especially for logos that require sharp visibility.
Another trick is to use satin stitches instead of fill stitches for small text. Satin stitches give a smoother finish and highlight the letters more clearly. In addition, applying underlay stitching can stabilize the fabric and prevent distortion.
If the lettering must be extremely small, consider printing instead of embroidery. This ensures accuracy while maintaining the design’s integrity. However, for embroidery projects, increasing the letter size slightly often makes all the difference.
Fabric type also plays a huge role in readability. Stretchy or textured fabrics can distort small letters. Choosing stable fabrics or adding stabilizers ensures better results. Overall, proper digitizing combined with thoughtful font selection guarantees clean lettering embroidery.
Thread Breaks During Lettering
Thread breaks can ruin the flow of embroidery and cause frustration. In lettering embroidery, thread breaks usually occur due to incorrect tension, needle damage, or poor-quality thread. Sometimes, the digitizing of the design may cause unnecessary stress on the thread.
To fix this, always use high-quality embroidery threads that are designed for machine use. Adjust the tension according to the thread and fabric type. Replacing dull or bent needles is also crucial to reducing thread breaks.
Digitizing adjustments like reducing stitch density, adding proper underlay, and avoiding sharp angles in lettering can reduce stress points. This allows the thread to run smoothly and minimizes breakage.
Keeping the machine clean and lubricated also plays a big role. Dust, lint, or oil buildup can lead to thread snapping. A regular cleaning routine ensures smooth stitching without interruptions.
Lastly, slowing down the machine speed while working on delicate lettering helps prevent thread damage. Fast stitching creates friction, which can weaken the thread and lead to frequent breaks. Slowing the machine provides better control and clean results.
Uneven Spacing Between Letters
Uneven letter spacing makes embroidery look unprofessional and poorly aligned. This problem usually arises from improper digitizing or fabric distortion during stitching. Spacing issues become more noticeable in small lettering where even slight misalignment affects readability.
The solution is to carefully adjust kerning (space between letters) during digitizing. Ensuring that each letter maintains consistent distance helps create a professional look. Using embroidery software to preview the design before stitching also helps in catching spacing errors early.
Adding underlay stitches stabilizes the fabric and minimizes shifting during embroidery. For stretchy fabrics, using stabilizers or backing material prevents pulling and maintains uniform spacing.
Machine calibration also plays a role. If the embroidery machine is not properly aligned, it may pull stitches unevenly. Routine machine maintenance and calibration eliminate this issue.
In cases where spacing errors are unavoidable, editing the design and slightly increasing the letter size helps improve readability. Professional digitizers like Mahi Digitizing always prioritize spacing during design setup to ensure flawless lettering embroidery.
Pull Compensation Issues
Pull compensation refers to adjusting stitches to counter fabric pulling. In lettering embroidery, pull distortion often causes letters to appear too narrow or uneven. This happens because the fabric shifts slightly as the needle penetrates.
To fix this, pull compensation must be applied during digitizing. Increasing stitch width in certain areas ensures that the letters maintain their intended shape after stitching. Without compensation, thin letters often disappear or lose readability.
The type of fabric also influences pull compensation. Stretchy fabrics like jersey require more adjustment than stable fabrics like cotton. Testing on sample fabric before production ensures accurate results.
Proper stabilizer selection also reduces fabric movement. Choosing cutaway stabilizers for stretchy fabrics or tear-away stabilizers for stable fabrics ensures that the fabric holds firmly during stitching.
Another helpful tip is to avoid using overly thin fonts. Thick, bold letters withstand pull distortion better and retain their sharpness. For professional-quality embroidery, digitizers always include pull compensation adjustments.
Incorrect Density in Lettering
Density problems in lettering embroidery occur when stitches are either too tight or too loose. High density causes thread buildup, while low density makes letters look incomplete. Both issues compromise the overall quality of embroidery.
To fix this, density settings must be adjusted according to fabric and thread type. Using lighter density for small fonts and heavier density for larger letters maintains balance. Digitizing software allows for precise density adjustments for each design.
Underlay stitching also affects density. Proper underlay reduces the need for excessive top stitches and prevents thread breakage. Skipping underlay often leads to uneven density and fabric puckering.
Another important factor is choosing the right thread weight. Thicker threads require lower density, while thinner threads need slightly higher density for coverage. Testing different density levels ensures the best outcome.
Ultimately, finding the perfect balance between density and readability creates clean and professional embroidery lettering. At Mahi Digitizing, we carefully adjust density settings to suit each fabric and design.
Outlines Not Matching the Letters
One of the most common embroidery mistakes is when outlines don’t align with the letters. This issue ruins the overall appearance and makes embroidery look messy. It usually occurs due to poor digitizing, machine misalignment, or fabric movement.
To fix this, outlines should be digitized with proper compensation. Increasing the outline thickness slightly ensures coverage even if minor shifts occur. Using lock stitches at the start and end of outlines also prevents them from pulling apart.
Stabilizers are again key in reducing fabric movement. Without proper backing, the fabric may stretch during embroidery, causing misaligned outlines. Choosing the right stabilizer depending on the fabric type ensures accuracy.
Machine speed also affects outlines. Slower stitching gives the machine better control and reduces shifting. Running test samples helps detect alignment issues before final production.
Professional digitizers always test designs and adjust outlines to match the lettering precisely. This guarantees clean, sharp, and professional embroidery results.
Registration Errors in Lettering
Registration errors happen when different parts of the embroidery design don’t line up correctly. In lettering, this means letters may overlap, misalign, or look broken. This usually occurs when the fabric shifts, stabilizers are weak, or digitizing lacks precision.
The solution is to use high-quality stabilizers and hoop the fabric correctly. Loose hooping causes fabric movement, leading to misaligned stitches. Tight and even hooping provides the stability needed for accurate lettering.
Digitizing techniques like using proper underlay, pull compensation, and careful alignment checks eliminate registration problems. At Mahi Digitizing, we always run design tests to ensure flawless results.
Machine calibration also plays an important role. A misaligned embroidery machine can easily cause registration errors. Regular maintenance ensures accuracy during production.
Finally, slowing machine speed and choosing bold fonts reduce the chances of misalignment. Thin, intricate fonts are more prone to registration problems, so using simple fonts for lettering is often the best choice.
Conclusion
Lettering embroidery requires precision, patience, and expert digitizing. From thread breaks to spacing issues and pull compensation, small errors can affect the readability and quality of embroidery. By applying proper digitizing techniques, using quality threads, and selecting the right stabilizers, most problems can be avoided. At Mahi Digitizing, we specialize in delivering sharp, clean, and professional embroidery digitizing services tailored to lettering and logos. Whether you’re an individual or a business, our team ensures flawless embroidery results every time.