
Woven patches are a stylish and durable way to add personality or branding to clothing, bags, caps, and more. Whether you’re customizing apparel or producing merchandise, attaching patches correctly ensures long-lasting results. At Mahi Digitizing, we’ve compiled a complete guide to applying woven patches using different methods to suit your needs.
Sewing by Hand for Permanent Attachment
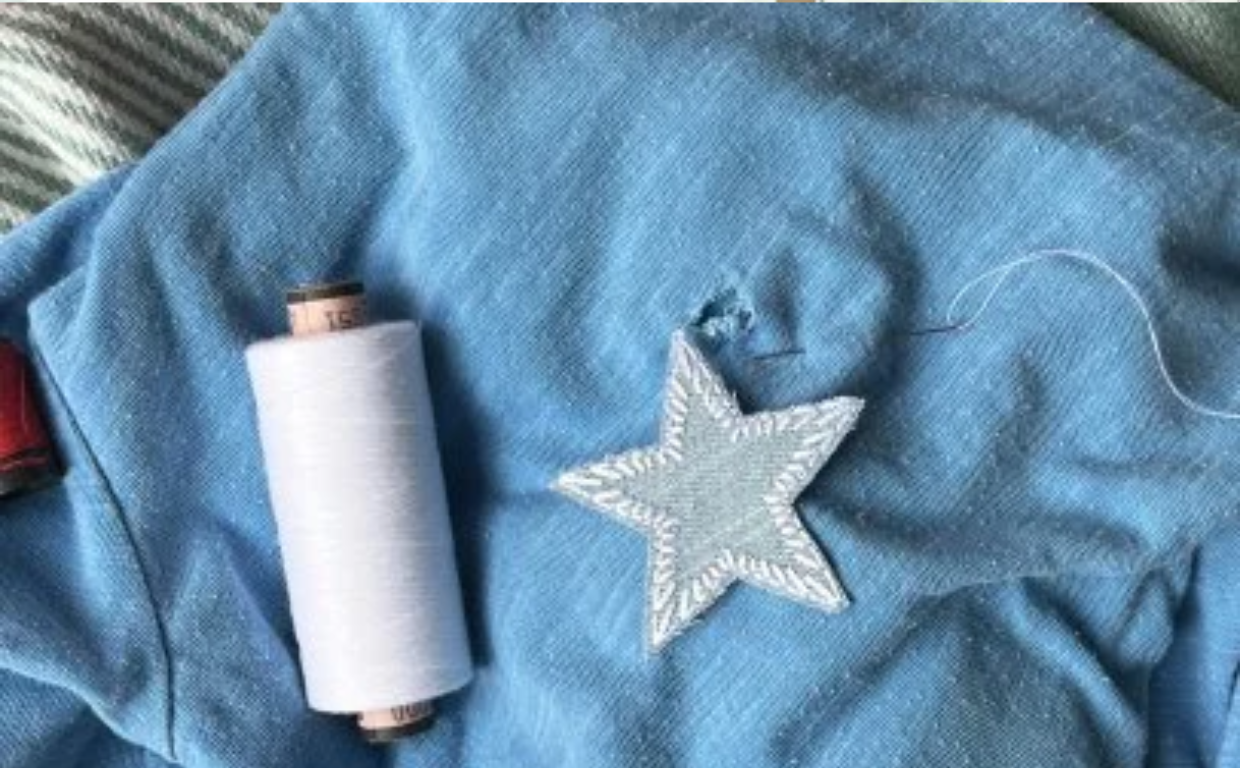
Hand sewing is a traditional and reliable method for attaching woven patches to garments and accessories. It’s ideal for thicker fabrics like denim jackets or canvas bags. Start by pinning the patch in the desired position. Use a thread color that matches the edge of the patch for a clean finish. A simple whipstitch or blanket stitch around the border secures it in place. Ensure your stitches are evenly spaced and tight to prevent the patch from lifting or curling over time. Double-knot the thread at the end for extra durability.
For high-traffic garments like workwear or backpacks, hand sewing provides superior hold and allows patches to withstand frequent washing or outdoor use. This technique is also a great solution when attaching patches onto uneven or curved surfaces where machines may not reach easily.
Explore more patch design and application tips on our Mahi Digitizing blog.
Using a Sewing Machine for Speed and Precision
If you’re attaching multiple patches or working on commercial production, a sewing machine is the most efficient option. It ensures even stitching and saves considerable time. Choose a needle suitable for your fabric type, and thread the machine with strong polyester or nylon thread. Set the stitch type to zig-zag or straight based on your desired finish. Use fabric clips or pins to hold the patch in place, then sew slowly along the patch’s edge. Pivot the fabric at corners to maintain clean lines without overlapping stitches.
Machine sewing is ideal for uniforms, team apparel, and branded accessories where consistency and durability are essential. Don’t forget to backstitch at the start and end to lock the thread securely. Trim excess thread for a professional finish.
Visit our Services page to request custom machine-ready woven patches.
Iron-On Adhesive for Quick Application
Many woven patches come with a heat-activated adhesive backing. Ironing is a quick way to attach patches without sewing, making it ideal for beginners and casual use. Preheat the fabric with an iron set to medium-high (without steam). Place the patch in position, cover it with a pressing cloth, and apply firm pressure for 20–30 seconds. Let the area cool for a minute, then check the edges. If any part is lifting, reapply heat. Avoid washing for 24 hours to allow the adhesive to fully cure.
While iron-on patches are convenient, they may not hold up on stretchy or delicate fabrics, especially after multiple washes or exposure to heat. For better results, combine ironing with a few stitches for reinforcement, especially on activewear or children’s clothing.
Check out our Get a Quote form to order iron-on compatible woven patches.
Fabric Glue for Temporary or Decorative Use
Fabric glue is another no-sew solution for attaching patches, particularly when working with delicate materials or decorative items like hats and notebooks. Apply a thin, even layer of glue on the back of the patch and press it onto the surface. Let it dry completely for at least 24 hours before handling or wearing. This method is best for patches that won’t undergo heavy use or frequent washing, as glue-only bonds may weaken over time.
Use a high-quality, fabric-specific adhesive for better hold. Avoid hot glue, as it doesn’t offer flexibility and may peel off after drying. Fabric glue works well for temporary applications or crafting, allowing you to remove or replace patches as needed.
Get pro tips and guides like this one directly from Mahi Digitizing.
Heat Press for Professional-Grade Application
For commercial apparel or merchandise production, a heat press ensures precise temperature and pressure when applying patches, making it superior to household irons. Preheat the fabric using the press, align the patch carefully, and apply even pressure for 15–20 seconds at 350°F depending on patch backing and fabric type. Use a Teflon sheet to avoid scorching or melting, especially when pressing synthetic materials or dark-colored garments.
Heat pressing is particularly effective for large batches or complex placements that require uniformity across all pieces. It’s perfect for hats, t-shirts, uniforms, and promotional apparel where branding visibility is a priority.
Need wholesale woven patches? Reach out to our team for a custom quote and options.
Reinforcement Tips for Long-Lasting Attachment
Regardless of the application method, reinforcing your patch can ensure it lasts longer and maintains its professional appearance. Double stitching around edges, combining adhesives with thread, or sealing edges with fabric sealant can all improve patch durability. Always wash garments with patches in cold water, on gentle cycles, and inside out to minimize abrasion and protect the bond.
Avoid tumble drying whenever possible. Air drying reduces the risk of lifting or distortion from high heat. If a corner lifts, repair it immediately to prevent further damage. Keeping patches well-maintained extends their lifespan and keeps your apparel looking fresh.
Stay updated with more embroidery and patch care tutorials by following Mahi Digitizing.