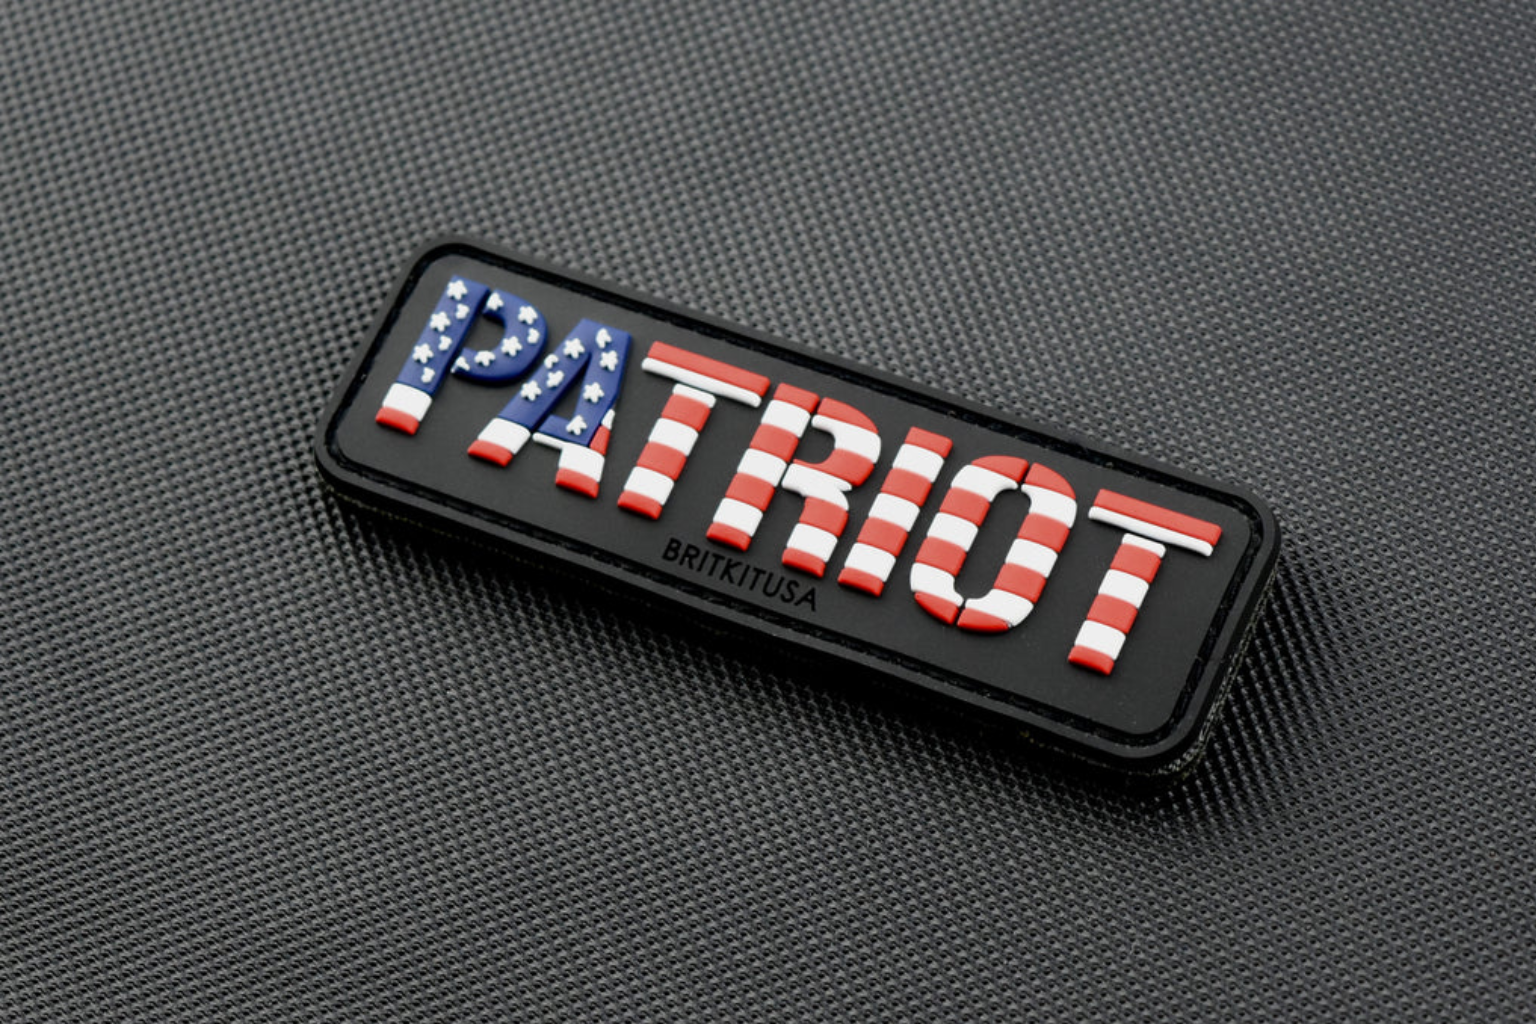
3D patches add depth, boldness, and instant recognition to any garment or accessory. When properly digitized, they create a raised, sculpted look that commands attention. At Mahi Digitizing, we specialize in engineering 3D embroidery designs that maximize visibility without sacrificing stitch quality or durability.
What Makes 3D Patches Stand Out?
3D patches are unique because they combine texture, depth, and visual impact in a way that flat embroidery cannot achieve. By raising the surface with foam, the design instantly captures attention, even from a distance.
This dimensional quality makes 3D embroidery ideal for branding, as it allows logos and text to appear bolder and more professional. Whether on caps, uniforms, or promotional apparel, the raised design helps companies stand out.
The tactile element also increases perceived value. Customers associate 3D embroidery with higher quality, premium branding, and professional craftsmanship, making it a great investment for businesses.
Unlike flat embroidery, 3D patches maintain visibility in low light or crowded spaces because the shadows created by raised edges enhance definition. This is particularly effective for sports teams, fashion brands, and outdoor apparel.
One of the biggest advantages is durability. Properly digitized 3D patches hold their shape over time, even with frequent washing or heavy use. This makes them practical for workwear and uniforms.
3D patches are also versatile. They can be used as statement logos, accent designs, or even combined with flat embroidery for layered effects. This flexibility makes them appealing across industries.
At Mahi Digitizing, we focus on maximizing all these benefits through expert digitizing that ensures boldness, clarity, and longevity in every 3D patch.
Choose the Right Design Elements
When planning a 3D patch, not every design will translate effectively. Thin lines, small details, and intricate shading often lose clarity in raised embroidery. Simplicity is key to success.
Bold fonts, thick borders, and solid logos create the best results because they provide enough coverage for foam while maintaining strong visual impact.
Spacing is equally important. Overcrowded designs can collapse under stitching, while open, well-balanced elements ensure better visibility and definition.
Another factor to consider is scaling. Some designs may need enlargement or adjustment of fine strokes to achieve a sharp look in 3D. Our digitizers often refine artwork to improve stitchability.
Contrast also plays a role. High-contrast elements allow the raised embroidery to pop, while overly complex patterns may blur the effect.
Combining flat embroidery with bold raised portions can create a layered design that enhances readability while still providing a striking 3D effect.
At Mahi Digitizing, we consult with clients to refine artwork and ensure every design element is optimized for maximum 3D impact.
Digitizing Techniques for 3D Embroidery
The digitizing stage determines whether a 3D patch will succeed or fail. Satin stitches are the primary technique, as they allow longer stitches to cover foam smoothly and consistently.
Capping stitches are used at the edges to lock down foam and prevent it from peeking through. This ensures a polished, professional finish.
Stitch direction also matters. Alternating stitch angles reduces tension and prevents distortion, especially on larger raised areas.
Pull compensation is crucial. Foam compresses under stitches, and without adjustment, designs may appear smaller or misaligned. Skilled digitizers account for this in the file.
Underlay should be minimal but effective. Zigzag or edge-walk underlays provide support without flattening the foam structure.
Sequencing plays a huge role in avoiding overlaps and gaps. Poor sequencing leads to bulky patches or weak spots, while proper planning ensures balance.
Our team at Mahi Digitizing applies advanced digitizing strategies that guarantee sharp edges, strong coverage, and flawless execution for every 3D patch.
Foam Selection and Fabric Considerations
The type of foam you choose will directly affect the look of your patch. High-density foams provide crisp edges and durability, while softer foams may flatten or fray over time.
Foam thickness also matters. Thicker foam (4–6mm) creates more dramatic elevation, while thinner foam (2–3mm) is better for subtle effects or small patches.
Fabric plays an equally important role. Sturdy fabrics like twill, denim, or structured caps provide the support needed for raised embroidery.
Stretchy or lightweight fabrics may warp under 3D stitching, causing uneven results. Stabilizers can help, but the choice of fabric is always critical.
Thread compatibility with foam and fabric is another factor. Strong polyester threads work well with dense foam, while metallic threads may require adjustments.
Testing the foam and fabric combination before bulk production ensures consistency and prevents costly errors in mass production.
At Mahi Digitizing, we design files tailored to specific foam and fabric types, ensuring patches look perfect on any garment.
Enhancing Visibility with Color and Contrast
Color choice can make or break a 3D patch. High-contrast combinations, like white on black or red on navy, ensure maximum visibility from a distance.
Bright, bold thread colors often amplify the raised effect, making designs more noticeable in crowded or fast-moving environments.
Metallic threads can be used strategically to add shine and luxury, though they require careful digitizing for durability on foam.
Combining flat embroidery with raised elements of different colors creates depth and helps separate key details from background elements.
Color psychology also comes into play. Red communicates energy, green inspires trust, and gold suggests luxury—making it important to align color choices with branding.
Thread sheen adds another dimension. Glossy threads reflect light differently, enhancing the 3D look compared to matte threads.
Our digitizers at Mahi Digitizing recommend color pairings that balance visibility, brand identity, and overall aesthetics for lasting impact.
Testing and Quality Control
No 3D patch should go into production without testing. A sample run helps detect issues like exposed foam, stitch breaks, or uneven density before large-scale orders.
Testing ensures that foam compresses evenly, stitches cover smoothly, and the design holds its shape after machine runs.
Quality checks involve reviewing tension, density, and sequencing to confirm that the patch looks identical to the intended design.
Adjustments may include increasing pull compensation, changing stitch angles, or altering underlay for better stability.
Once the final test is approved, documenting machine settings and material choices ensures consistent results in future orders.
Ongoing quality control prevents defects, saves time, and builds client trust by guaranteeing reliable performance across batches.
At Mahi Digitizing, every 3D file undergoes thorough testing and refinement before delivery, ensuring smooth production and outstanding results.
Conclusion
High-impact 3D patches require a thoughtful balance of design, digitizing, materials, and testing to achieve maximum visibility.
Simplifying artwork, choosing bold fonts, and planning for raised effects are the first steps toward success.
Expert digitizing ensures that foam is covered neatly, edges are capped, and pull compensation prevents distortion.
Foam thickness, fabric choice, and thread selection all influence the final look, making it vital to plan holistically.
Color and contrast elevate the design, while testing confirms durability and performance before bulk production.
By combining all these elements, brands can create patches that not only stand out visually but also maintain quality over time.
Trust Mahi Digitizing to deliver professionally digitized 3D patch files. Request a quote today and bring your designs to life with precision and impact.

