
Custom embroidered patches are widely used for branding, uniforms, and personal expression. The creation process involves careful planning, embroidery digitizing, material selection, and finishing. Follow this step-by-step guide to learn how professional embroidered patches are made.
Designing the Patch Artwork
The first step in creating custom embroidered patches is designing the artwork. A well-crafted design ensures that the embroidery process runs smoothly and produces a high-quality patch. Simple, bold lines and minimal intricate details work best for embroidery.
Professional designers use software like Adobe Illustrator or CorelDRAW to refine the design and ensure scalability. The color selection is also important, as different thread shades affect the final appearance of the patch.
Before proceeding with embroidery, the design needs to be converted into a stitch file using embroidery digitizing services. This ensures that the embroidery machine can accurately stitch the design onto fabric.
Selecting the Right Materials
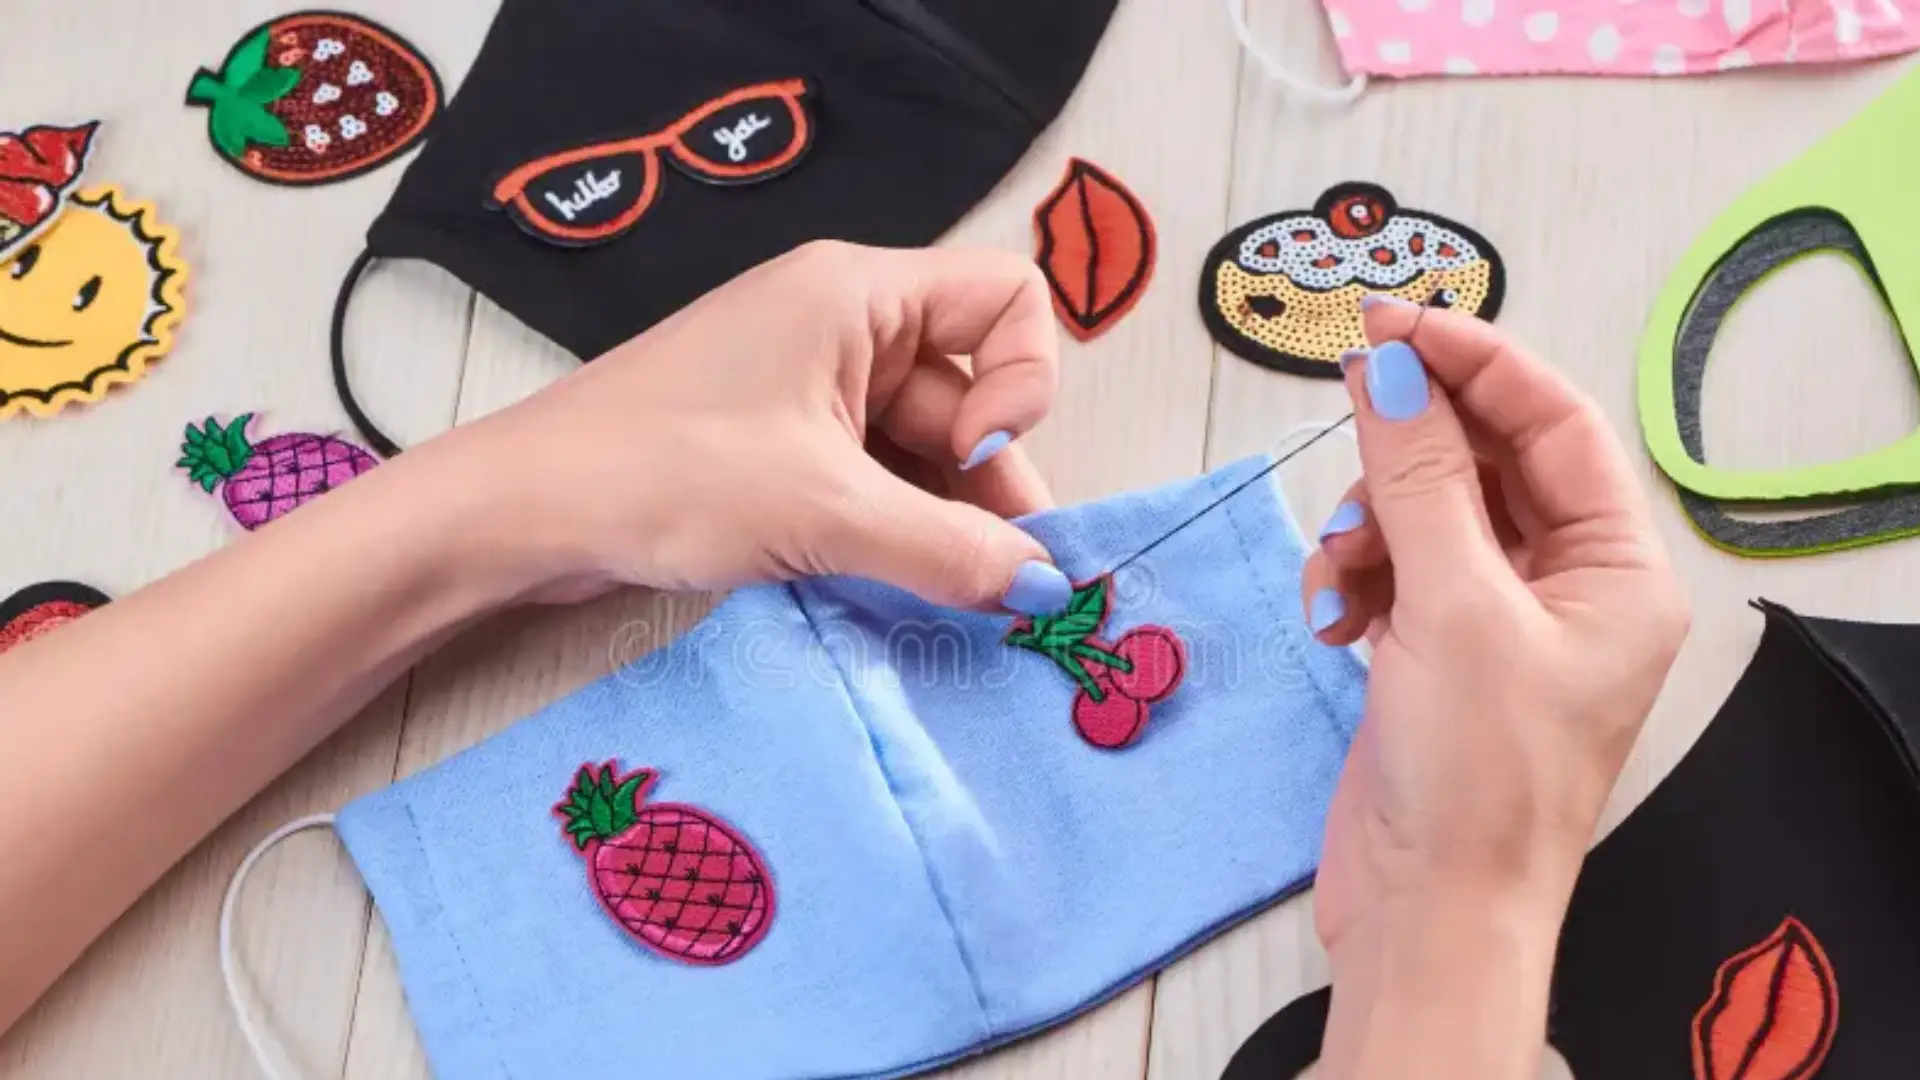
The choice of materials affects the durability and texture of an embroidered patch. Most patches are made using sturdy fabrics like twill, felt, or canvas, which provide a stable base for stitching.
Backing options such as iron-on, Velcro, and adhesive backing determine how the patch is applied. Iron-on patches are easy to use, while Velcro-backed patches are removable and reusable, making them suitable for uniforms and tactical gear.
Thread selection also plays a vital role. Polyester threads are durable and resistant to fading, while rayon threads provide a glossy finish. Choosing the right combination of fabric and thread enhances both the aesthetic appeal and lifespan of the patch.
Embroidery Digitizing and Machine Setup
After finalizing the design and materials, the artwork is converted into a digital stitch file. This process, known as embroidery digitizing, determines stitch placement, thread density, and direction for accurate embroidery results.
The embroidery machine is then set up with the appropriate thread colors, fabric, and hoop size. A test run is often performed on a sample fabric to check for any errors before full production begins.
If you’re new to embroidery digitizing, professional digitizing services ensure precise results, reducing production errors and material waste.
Stitching and Cutting the Patch
The embroidery process begins once the machine is programmed with the digitized design. The embroidery machine stitches the design onto the fabric layer by layer, creating a durable and vibrant patch.
After embroidery is complete, the patches are cut out from the fabric. The cutting process can be done using laser cutting, hot knife cutting, or merrowed edging, depending on the desired patch shape and finish.
Proper cutting ensures that the patch edges remain durable and do not fray over time. For high-quality embroidered patches, precise stitching and clean cutting are essential.
Finishing Touches and Application
The final step involves adding the selected backing, such as iron-on adhesive, sew-on fabric, or Velcro. Each backing type offers different benefits depending on the intended use of the patch.
After backing application, the patches go through a quality control process to check for any loose threads, misalignment, or stitching errors. Only high-quality patches are approved for packaging and distribution.
Whether used for branding, uniforms, or personal fashion, embroidered patches add a unique touch to any fabric. To get custom patches for your brand, explore Mahi Digitizing’s custom embroidery services.