Creating high-quality PVC patches involves more than just shaping plastic. It’s a careful process that blends design, material expertise, and production precision. At Mahi Digitizing, we follow a detailed workflow to ensure each patch we produce meets top-quality standards and delivers long-term performance.
Understanding PVC Material
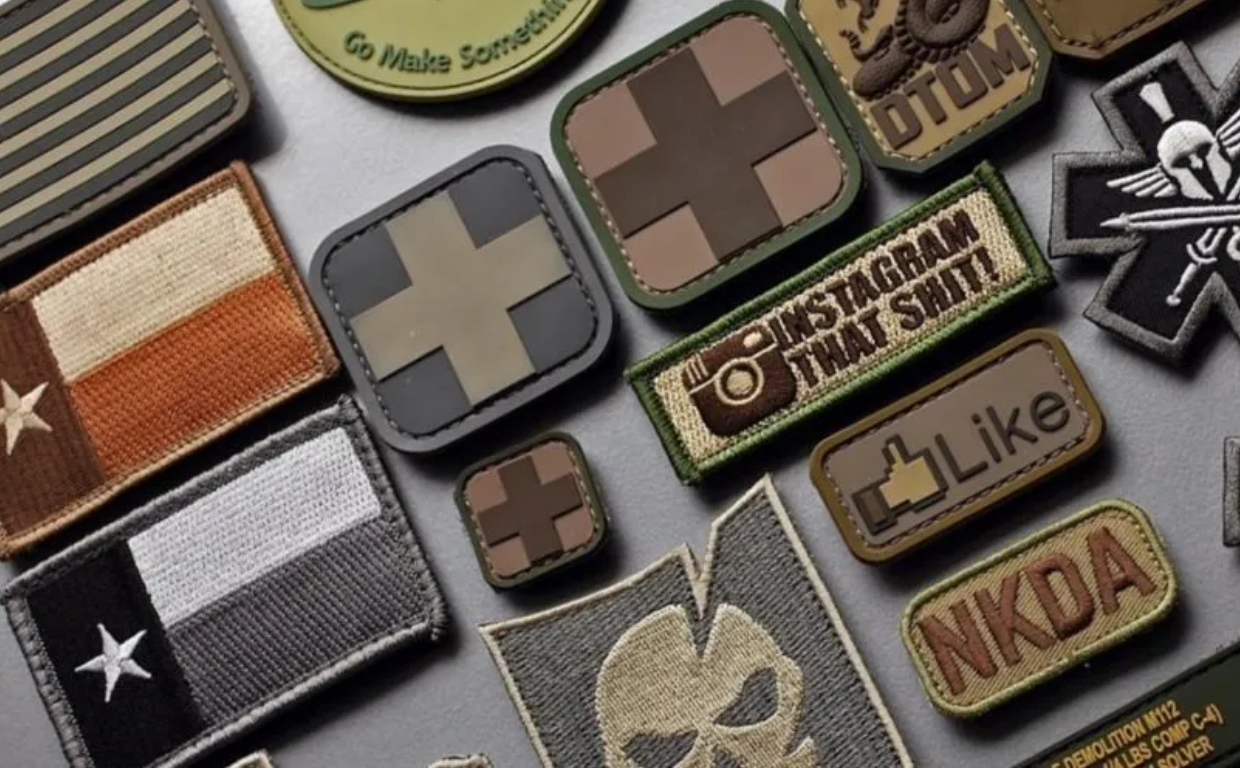
To begin with, PVC—short for polyvinyl chloride—is a strong, flexible plastic commonly used in commercial and industrial products. It resists water, sunlight, and general wear, which makes it ideal for long-lasting embroidered alternatives.
Unlike fabric-based patches, PVC offers bold color visibility and excellent resistance to the elements. This allows brands to maintain a consistent visual identity across various outdoor and rugged environments.
Additionally, it provides a rubbery, soft texture that gives your patches both visual impact and a premium feel.
We select premium-quality PVC compounds to ensure each patch meets our durability and aesthetic standards.
By starting with the right materials, we set the foundation for a finished product that exceeds expectations.
Step 1: Designing the Patch
The process starts with a custom design. Whether you already have a logo or need one created, we convert your concept into a clean vector file. This format allows for sharp lines, scalable sizing, and layered depth.
Next, our designers break down the artwork into layers for color separation and mold planning. This helps identify what areas will be raised or recessed and how each color will be injected.
During this step, we also prepare multiple proofs to help you visualize how the patch will appear in its final form.
Once you approve the design, we finalize the production file and move to the next stage with confidence.
This careful planning ensures that your branding stays intact while maximizing the 3D and color-rich features of PVC.
Step 2: Mold Creation and Setup
After the design phase, we begin building the mold. Using steel or aluminum, we carve out a negative impression of your patch layout using CNC precision tools.
Each raised or sunken part of the design becomes a physical level in the mold. This requires accurate mapping of the artwork to machine specifications.
We then inspect the mold to ensure it holds exact alignment with the digital layout. If any adjustments are needed, we make them before production begins.
The better the mold, the cleaner your patch edges will be, especially when layering multiple colors or text elements.
This setup step is vital, as it directly affects how well the finished product matches your original design.
Step 3: Color Injection and Layering
With the mold ready, we start injecting soft PVC material. We begin from the base color and work our way up to the topmost design details.
Each color is injected separately, and we pause to let each layer cure before applying the next. This method prevents colors from mixing or warping during the process.
Thanks to this technique, your patch will feature clean edges and sharp color divisions that truly stand out.
Throughout the injection stage, we monitor temperature, pressure, and timing to maintain consistency in shape and texture.
As a result, every patch looks polished, structured, and true to your original vision.
Step 4: Curing and Final Cooling
Once all layers are injected, we place the filled mold into a controlled environment to cure the PVC. This helps solidify the material while keeping the form intact.
Proper curing ensures that your patches won’t warp or develop bubbles as they cool. This phase also locks in the dimensional look and feel.
We allow the patches to rest until they are fully cooled and ready for removal. Rushing this stage may compromise quality, so we allow ample time.
After cooling, each patch is demolded carefully to avoid tearing or distortion of fine edges.
At this point, the patch begins to resemble its final shape and feel, though finishing touches remain.
Key Quality Control Measures
To guarantee consistency and performance, we implement strict quality checks at this stage:
- Visual Inspection: We examine every patch for color accuracy, sharp lines, and texture consistency.
- Flexibility Test: Patches are bent and stretched to ensure they retain their shape and durability.
- Edge Review: We check for fraying or uneven edges that may interfere with application.
- Backing Verification: Each patch backing (Velcro, adhesive, or sew-on) is tested for proper attachment strength.
- Final Measurement: We confirm the patch dimensions match the approved specs before packaging.
These steps ensure only perfect patches make it into your shipment.
Adding the Right Backing
After quality control, we add your preferred backing type. Some clients need Velcro for tactical gear, while others choose adhesive for easy placement or sew-on for long-term durability.
We apply each backing with the correct adhesive and pressure based on your use case and patch size.
To ensure long-term wear, we test the bond strength and flexibility of the patch once the backing is applied.
This way, you get patches that stick well to your product—whether it’s a jacket, backpack, or hat.
Every backing style we offer is selected for quality, strength, and user convenience.
Why Choose Mahi Digitizing for PVC Patch Production
At Mahi Digitizing, we treat each PVC patch as a custom-crafted brand asset. Our attention to detail ensures your patches meet high visual and performance standards from start to finish.
With years of experience and a team of skilled professionals, we streamline the entire production—from digital setup to finished delivery.
We don’t just produce patches; we help elevate your brand image with every piece we create.
Whether you need PVC patches for uniforms, outdoor gear, giveaways, or merchandise, we’re here to help.
Request a free quote or contact us today and bring your patch project to life with quality that lasts.