Vector graphics are the foundation of high-quality printing across industries. Whether you’re printing logos on apparel, creating marketing materials, or producing custom patches, preparing a vector file properly ensures your design translates perfectly from screen to print. In this blog, Mahi Digitizing walks you through the critical steps and features that make a vector file truly print-ready.
Understanding the Basics of Vector Files
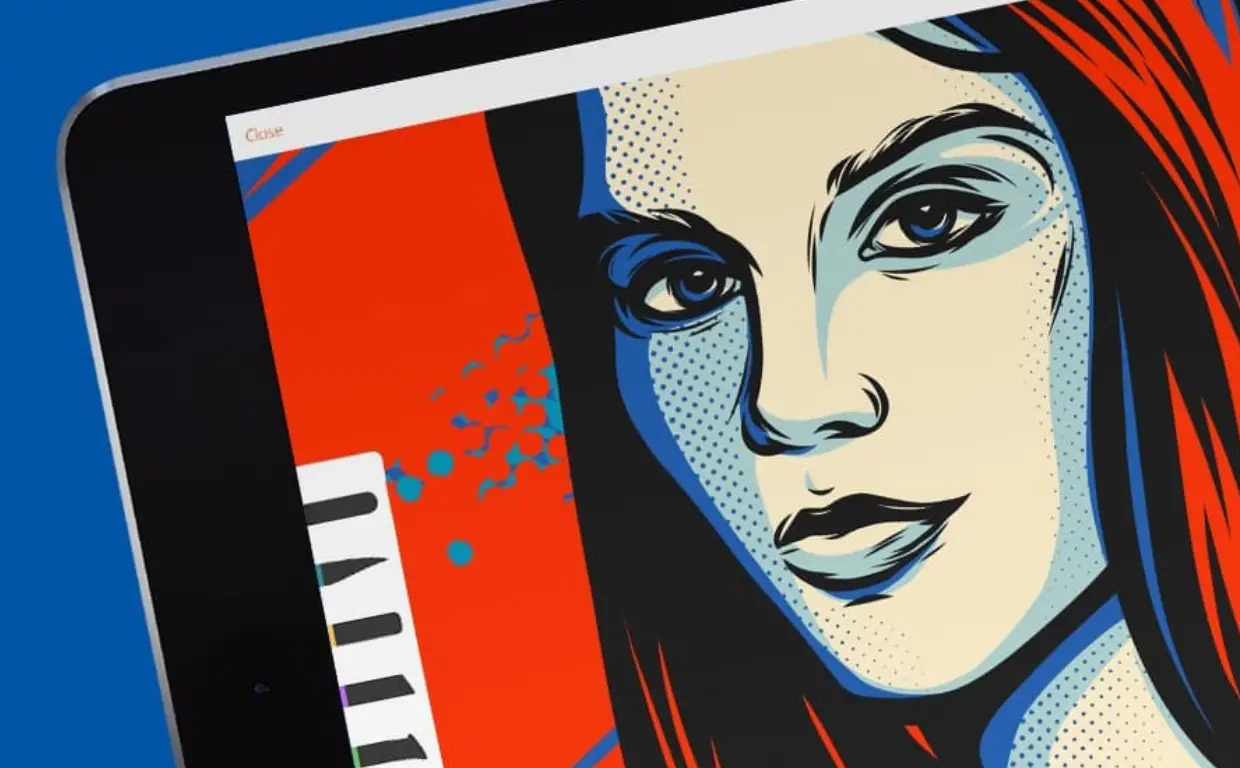
Vector files are created using mathematical paths and points, which makes them scalable to any size without losing quality. Unlike raster images (which are made of pixels), vectors maintain sharpness and clarity even when enlarged. This characteristic is why designers and printers prefer vector files for professional use, as they guarantee precision and adaptability.
A common misconception is that any graphic saved as an AI or EPS file is automatically a vector. In reality, if you place a raster image (like a JPEG or PNG) into an AI file, the underlying graphic remains raster-based. True vector files are drawn or converted into vector shapes, making them resolution-independent and perfectly suited for high-quality output.
Another advantage of vector files is that they allow for easy edits and adjustments. You can modify shapes, colors, text, and lines without affecting image quality. This flexibility makes vector files ideal for multi-use projects, from small labels to massive banners, ensuring consistency across all materials.
In printing, file integrity is everything. A vector file must retain clean paths, closed shapes, and organized layers to ensure the printer reads and interprets it correctly. Poorly constructed vectors with overlapping points, open paths, or hidden layers can cause printing errors, distortions, or increased production costs.
At Mahi Digitizing, we specialize in transforming raster graphics and rough drafts into professionally polished vector files that meet the highest industry standards. We review every detail to ensure your artwork is not only scalable but also ready for immediate production without surprises.
Key Features of a Print-Ready Vector File
A print-ready vector file includes several essential elements that ensure it translates smoothly from your design software to the printer’s press. One of the first requirements is that all fonts are converted to outlines or paths. This step ensures that the text maintains its intended appearance, even if the printer does not have your specific font installed.
Next, colors must be accurately defined. For print, files should be set in CMYK mode, which corresponds to the four inks used in most printing processes: cyan, magenta, yellow, and black. If the file remains in RGB mode (used for screens), the printed colors may appear duller or different than intended.
Another critical aspect is ensuring correct dimensions. Your file must match the exact size requirements for the final product. Whether you’re designing for business cards, posters, or custom embroidery, setting the correct artboard size and scale eliminates resizing issues and maintains design integrity.
Additionally, it’s important to clean up your file. Remove any hidden or unnecessary layers, stray points, or unused objects. These extra elements can confuse the printing process and increase file size, potentially slowing down production or causing errors.
Finally, save and export the file in the format specified by your printer or production partner. Common choices include AI, EPS, or PDF, but each printer may have its preferences. At Mahi Digitizing, we ensure every vector file we deliver is meticulously prepared, so you can send it directly to print with full confidence.
Importance of Bleed, Margins, and Safe Zones
Bleed, margins, and safe zones are essential concepts in print design that ensure your final product looks polished and professional. The bleed refers to the extra space (usually about 0.125 inches) added around the edges of your design. It accounts for slight variations in the trimming process and prevents unintended black borders from appearing on the final piece.
Margins and safe zones serve a similar protective function but work inside the design area. The safe zone is the area where all essential elements — such as logos, text, or key graphics — should be placed to avoid being accidentally cut off. Keeping critical content within this zone guarantees that no vital information is lost during production.
Setting up bleed and safe zones requires precision. Even experienced designers sometimes overlook this step, leading to production headaches and wasted materials. Professional print-ready vector files always include well-defined bleed and clear alignment guides, ensuring the artwork is perfectly centered and trimmed.
At Mahi Digitizing, we carefully review and add proper bleed and margin setups to every file we handle. We understand how costly even small misalignments can be, so we take the extra step to protect your designs from trimming errors or alignment issues.
When you combine precise bleed, margins, and safe zones, you’re not just avoiding mistakes — you’re ensuring that your brand and message shine with maximum impact. Attention to these details is what separates amateur designs from truly professional-grade print work.
Managing Colors for Accurate Print Results
Color management is one of the most complex — and important — aspects of preparing a print-ready file. Monitors display colors using the RGB spectrum, which can produce highly saturated and luminous colors, but printers use CMYK inks that have a different color range. Without converting your files to CMYK, you risk significant shifts in how your colors appear on the final product.
Beyond simple RGB-to-CMYK conversion, many projects require precise color matching using Pantone (PMS) swatches. These standardized colors ensure brand consistency across different materials and printers. Without these swatches, achieving the same shade across multiple production runs becomes challenging and unpredictable.
Overprinting and trapping are additional color considerations. Overprinting controls how colors overlap, preventing unexpected mixing or gaps between layers, while trapping creates slight overlaps between adjacent colors to avoid visible gaps due to misregistration during printing.
Another overlooked factor is transparency. Many vector files include transparent elements or effects that may not render properly on certain printing presses. Flattening these transparencies and ensuring clean layer separations are essential steps in professional file preparation.
At Mahi Digitizing, we handle all these technical color requirements for you. We make sure every vector file is color-accurate, properly flattened, and ready for the most demanding printing environments, ensuring your brand colors stay consistent across every application.
Why File Format and Resolution Matter
While vector files are inherently resolution-independent, any embedded raster images (like photos or textures) still require careful attention. These elements should be high-resolution — ideally 300 dpi — to avoid appearing blurry or pixelated when printed. Embedding low-resolution graphics can compromise the overall quality of the final product.
File format is equally important. While AI and EPS are common native vector formats, printers may request print-optimized PDFs because they preserve layers, color profiles, and vector paths while maintaining compatibility across software. Delivering files in the wrong format can cause delays, misinterpretations, or even rejected print jobs.
It’s also critical to package your files correctly. This means embedding fonts or converting them to outlines, including all linked images, and removing unnecessary data that bloats file size. Many print shops have specific export settings or templates that ensure smooth processing, and failing to follow these can lead to production setbacks.
Another key consideration is using version-compatible formats. For example, saving an Adobe Illustrator file in a version newer than the printer’s software may result in incompatibility or lost data. Always check which software versions your printer supports to avoid technical hiccups.
At Mahi Digitizing, we ensure your files are packaged, formatted, and exported to meet your printer’s exact requirements. This guarantees a smooth workflow and saves you time, money, and frustration during the printing process.
Trust Mahi Digitizing for Print-Ready Excellence
Creating a professional, print-ready vector file involves far more than just saving your design in AI or EPS format. It requires a deep understanding of color spaces, file preparation, layering, and technical standards that ensure perfect output on every project. These details can make or break your printed materials, impacting how your brand is perceived by customers and partners.
At Mahi Digitizing, we combine technical expertise with artistic precision to deliver vector files that meet the highest industry benchmarks. Whether you’re preparing a logo, creating custom embroidery designs, or producing promotional materials, we ensure your files are 100% ready for flawless production.
Our team uses advanced tools and manual checks to inspect every element, from paths and points to color profiles and file exports. We go beyond simple conversions, offering expert optimization that saves you time and ensures perfect final results, no matter the complexity of the project.
Working with Mahi Digitizing means partnering with a team that understands the full print lifecycle — from digital design to physical production. We offer fast turnaround times, professional support, and a commitment to quality that helps your brand shine in every medium.
Ready to elevate your print projects? Request a free quote today or contact us to learn more about our vector and digitizing services. Let Mahi Digitizing help you create designs that look amazing — on screen and in print.

